You may know that Mark Dodson has held a Michelin star at The Mason’s Arms, his Devon pub, since 2006. You’ll probably also know that he’s a former head chef of The Waterside Inn. But you may not realise that he’s the only Brit ever to hold that position or that he spent a total of 18 years at the restaurant. And you almost certainly won’t have a clue that his favourite film director is Quentin Tarantino and that he has a huge collection of vinyl and gig ticket stubs.
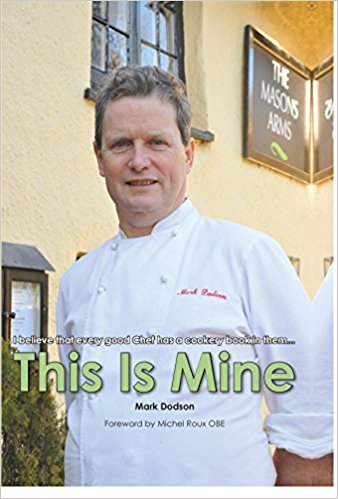
You’ll discover all this and more reading his debut cookbook (the obscure title is explained by the cover strapline ‘I believe that every good chef has a cookery book in them…this is mine) which includes a glowing introduction by Michel Roux Snr (‘I look upon Mark as I look upon my son’) and a brief but illuminating biographical section.
Dodson describes his cooking style as ‘good honest food, featuring local ingredients wherever possible presented with style and taste’, neatly summing up the 70 recipes that are categorised into soups, starters, mains and desserts. In addition, there’s a section dedicated to game, a passion of Dodson’s with preparations ranging from classic roasted grouse with bread sauce and a crouton spread with farce au gratin (a sort of pate made from grouse and chicken livers) to wood pigeon with curried brussels sprouts.
Dodson has been cooking since the 70’s and his classical background is reflected in garnishes like turned and Parisienne-balled vegetables, fanned duck breasts and chicken cooked in a brick. There’s also a fair amount of 90’s-style stacking of food, but there’s a nod to modernism with dragged purees and pickled and smoked elements. Dodson also looks far beyond Britain and France for inspiration; smoked chicken comes with Thai-style salad and salmon is marinated in soy, mirin and yuzu.
The book won’t win any prizes for design with a dated and unimaginative layout and oddly lit photography that makes some dishes look washed out and unappetising. The editing could have been improved too with recipe introductions not delineated from the method and no instructions on how to prepare some ingredients in some recipes, making for a frustrating read at times. However, the book does offer an invaluable opportunity to tap into the wealth of knowledge accrued by one of the UK’s most respected and experienced chefs. This is Mine should also be yours.
This review was originally published in The Caterer magazine.
Cuisine: Modern European/French
Suitable for: Confident home cooks and chefs
Cookbook Review Rating: 3 stars
Buy this book
This Is Mine
£25 A Way with Media