What’s the USP? A cookbook that many chefs in the UK and around the world have been waiting for; the print debut of Simon Rogan, one of the most highly regarded British chefs of the last decade.
Who’s the author? Simon Rogan needs no introduction as the two Michelin-starred chef/patron of L’Enclume in the chocolate box village of Cartmel in the Lake District which he opened in 16 years ago and where he also runs the more casual Rogan & Co. Rogan opened Aulis, an 8-seater chefs table and development kitchen in Soho in 2017 (a sister to the original Aulis development kitchen in Cartmel), closely followed by the second coming of Roganic, originally launched as two year pop up in 2011 and now a permanent restaurant in Marylebone. Rogan was the opening chef of Fera at Claridges hotel and relaunched The French at the Midland hotel in Manchester. His style of cooking, that draws heavily on locally foraged ingredients and organic vegetables from his own farm just outside Cartmel and the use of cutting-edge culinary equipment such as rotary evaporators, has been hugely influential.
What does it look like? At 28.5cm by 24cm, Rogan will stand proud of many other cookbooks on your shelf, and at over 300 pages, it constitutes a weighty tome. The look is very ‘green and pleasant’ in the Blakeian sense of the phrase with lots of double page spreads of stunning Lake District scenery and Rogan himself at work on Our Farm, harvesting turnips and radishes or out foraging on the shoreline at Grange-Over-Sands that’s close to L’Enclume.
Is it good after service reading? Rogan espouses his culinary philosophy in an extended introduction (‘in these days of overconsumption on a global scale, I believe we need to step back and appreciate what our local area offers us’) and tells the story of developing his farm. Articles on key ingredients such as Herdwick lamb, scallops and Tunworth cheese are dotted through out the book and recipe introductions include useful and interesting information such as ‘Meadowsweet flowers have an extraordinary honey almond scent that makes a wonderful flavouring for mousses and yoghurts’.
Will I have trouble finding ingredients? As long as you are happy to go picking things like ox-eye daisies (they grow everywhere in June, from ‘roadside verges as well as in domestic gardens’ according to Rogan), mugwort and ramson leaves, then you’re golden. Rogan specifies varieties of veg such as Simane onions, Aquadulce broad beans and pigeon cabbage which, unless you cultivate them yourself, you may have problems tracking down, although you can get away with substituting more common types. Just don’t let Simon Rogan find out.
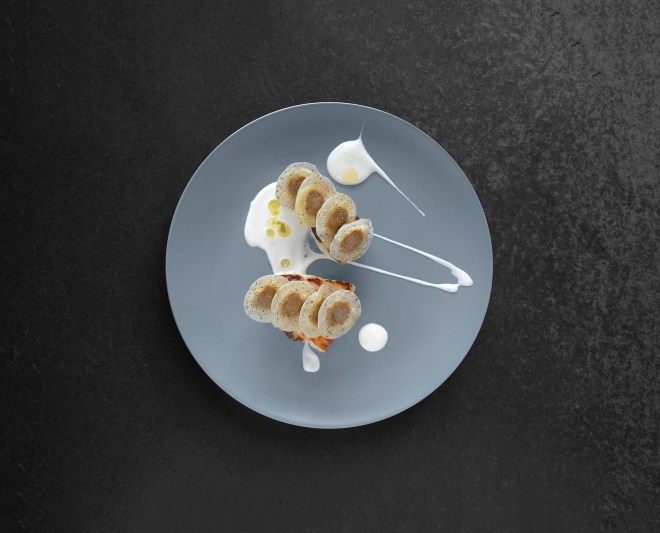
What’s the faff factor? Some of the dishes are dauntingly complex for the home cook; a scallop starter involves three preparations served in separate vessels including raw scallops with cider vinegar gel, a bouillon made from the scallop skirts and gooseberry tart with scallop roe. Others, such as roast cod with kelp butter sauce are far more approachable and could be knocked up for a mid-week dinner.
How often will I cook from the book? There is no question that Rogan: The Cookbook is aimed at serious home cooks (and, it goes without saying, professional chefs) and for the most part will be the sort of book you reach for when you are in the mood for a bit of a project.
How annoyingly vague are the recipes? There is the odd ‘drizzle of rapeseed oil’, ‘lemon juice, to taste’ and ‘pinch of chilli flakes’ but for the most part, accurate weights and measures are given and the methods are clear and easy to follow.
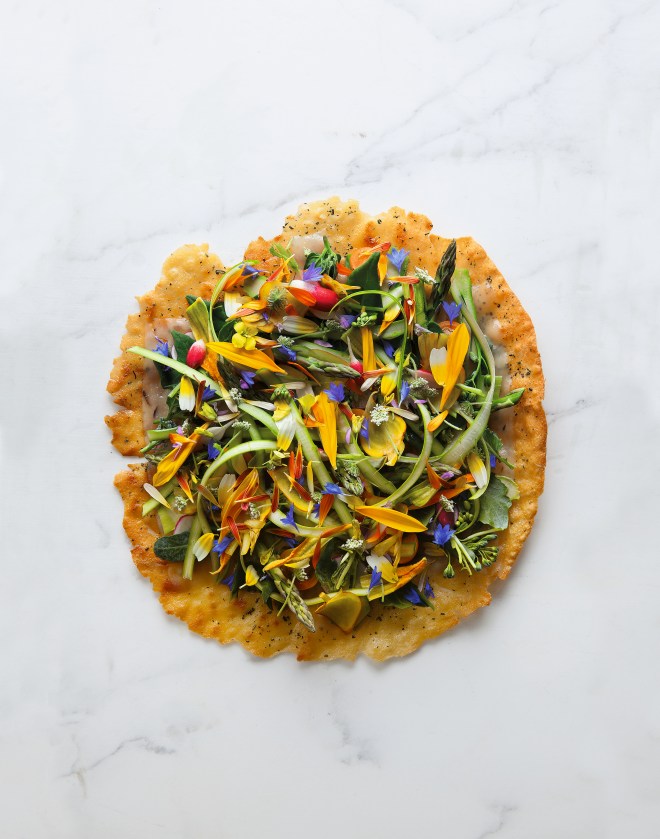
Killer recipes? Rogan has included some old L’Enclume favourites including the ridiculously titled Chick O Hake (hake loin wrapped in chicken skin and served with chervil root puree); roasted carrots with ham fat; Cubes from Land and Sea with eucalyptus hollandaise (a combination of lobster, sweetbread and girolles that critic Victor Lewis Smith once described as looking like ‘the inside of a Dalek’) and the grilled smoked salad over embers that he prepared for the Great British Menu TV series in 2012.
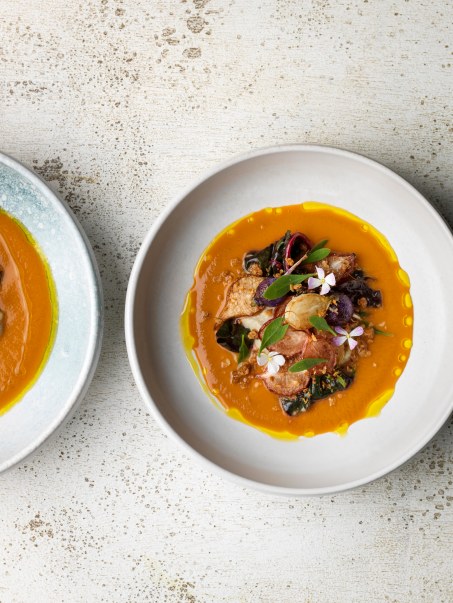
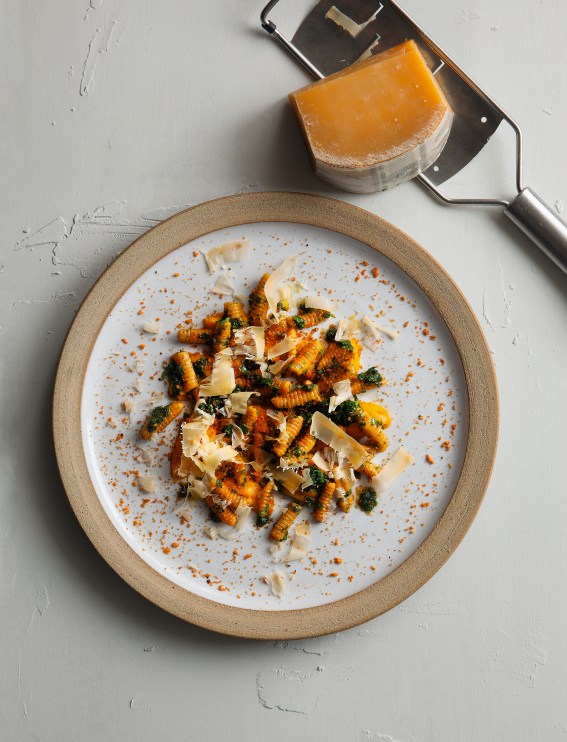
What will I love? Rogan feels like a labour of love, the distillation of sixteen years of knowledge and expertise developed during the evolution of L’Enclume (plus Rogan’s career beforehand that included several years at the three Michelin starred Lucas Carton in Paris) and the food looks distinctive, beautiful and extremely appetising.
What won’t I like? If you want your food to taste as good as Rogan’s, ideally, you’ll need to move to the Lake District and open an organic farm, or at least start an allotment there. The good news however is that many of the dishes are perfectly achievable without going to such extreme lengths.
Should I buy it? This book may have been a long time coming, but it’s worth the wait with much to read, techniques to master, ingredients to discover and ideas to explore. A new classic and a must own.
Cuisine: Modern progressive
Suitable for: Professional chefs/Confident home cooks
Cookbook Review Rating: 5
Buy this book
Rogan
£30, HarperCollinsPublishers
Cook from this book
Radish stew
Smoked lamb shoulder
Quince tart with gingerbread ice cream