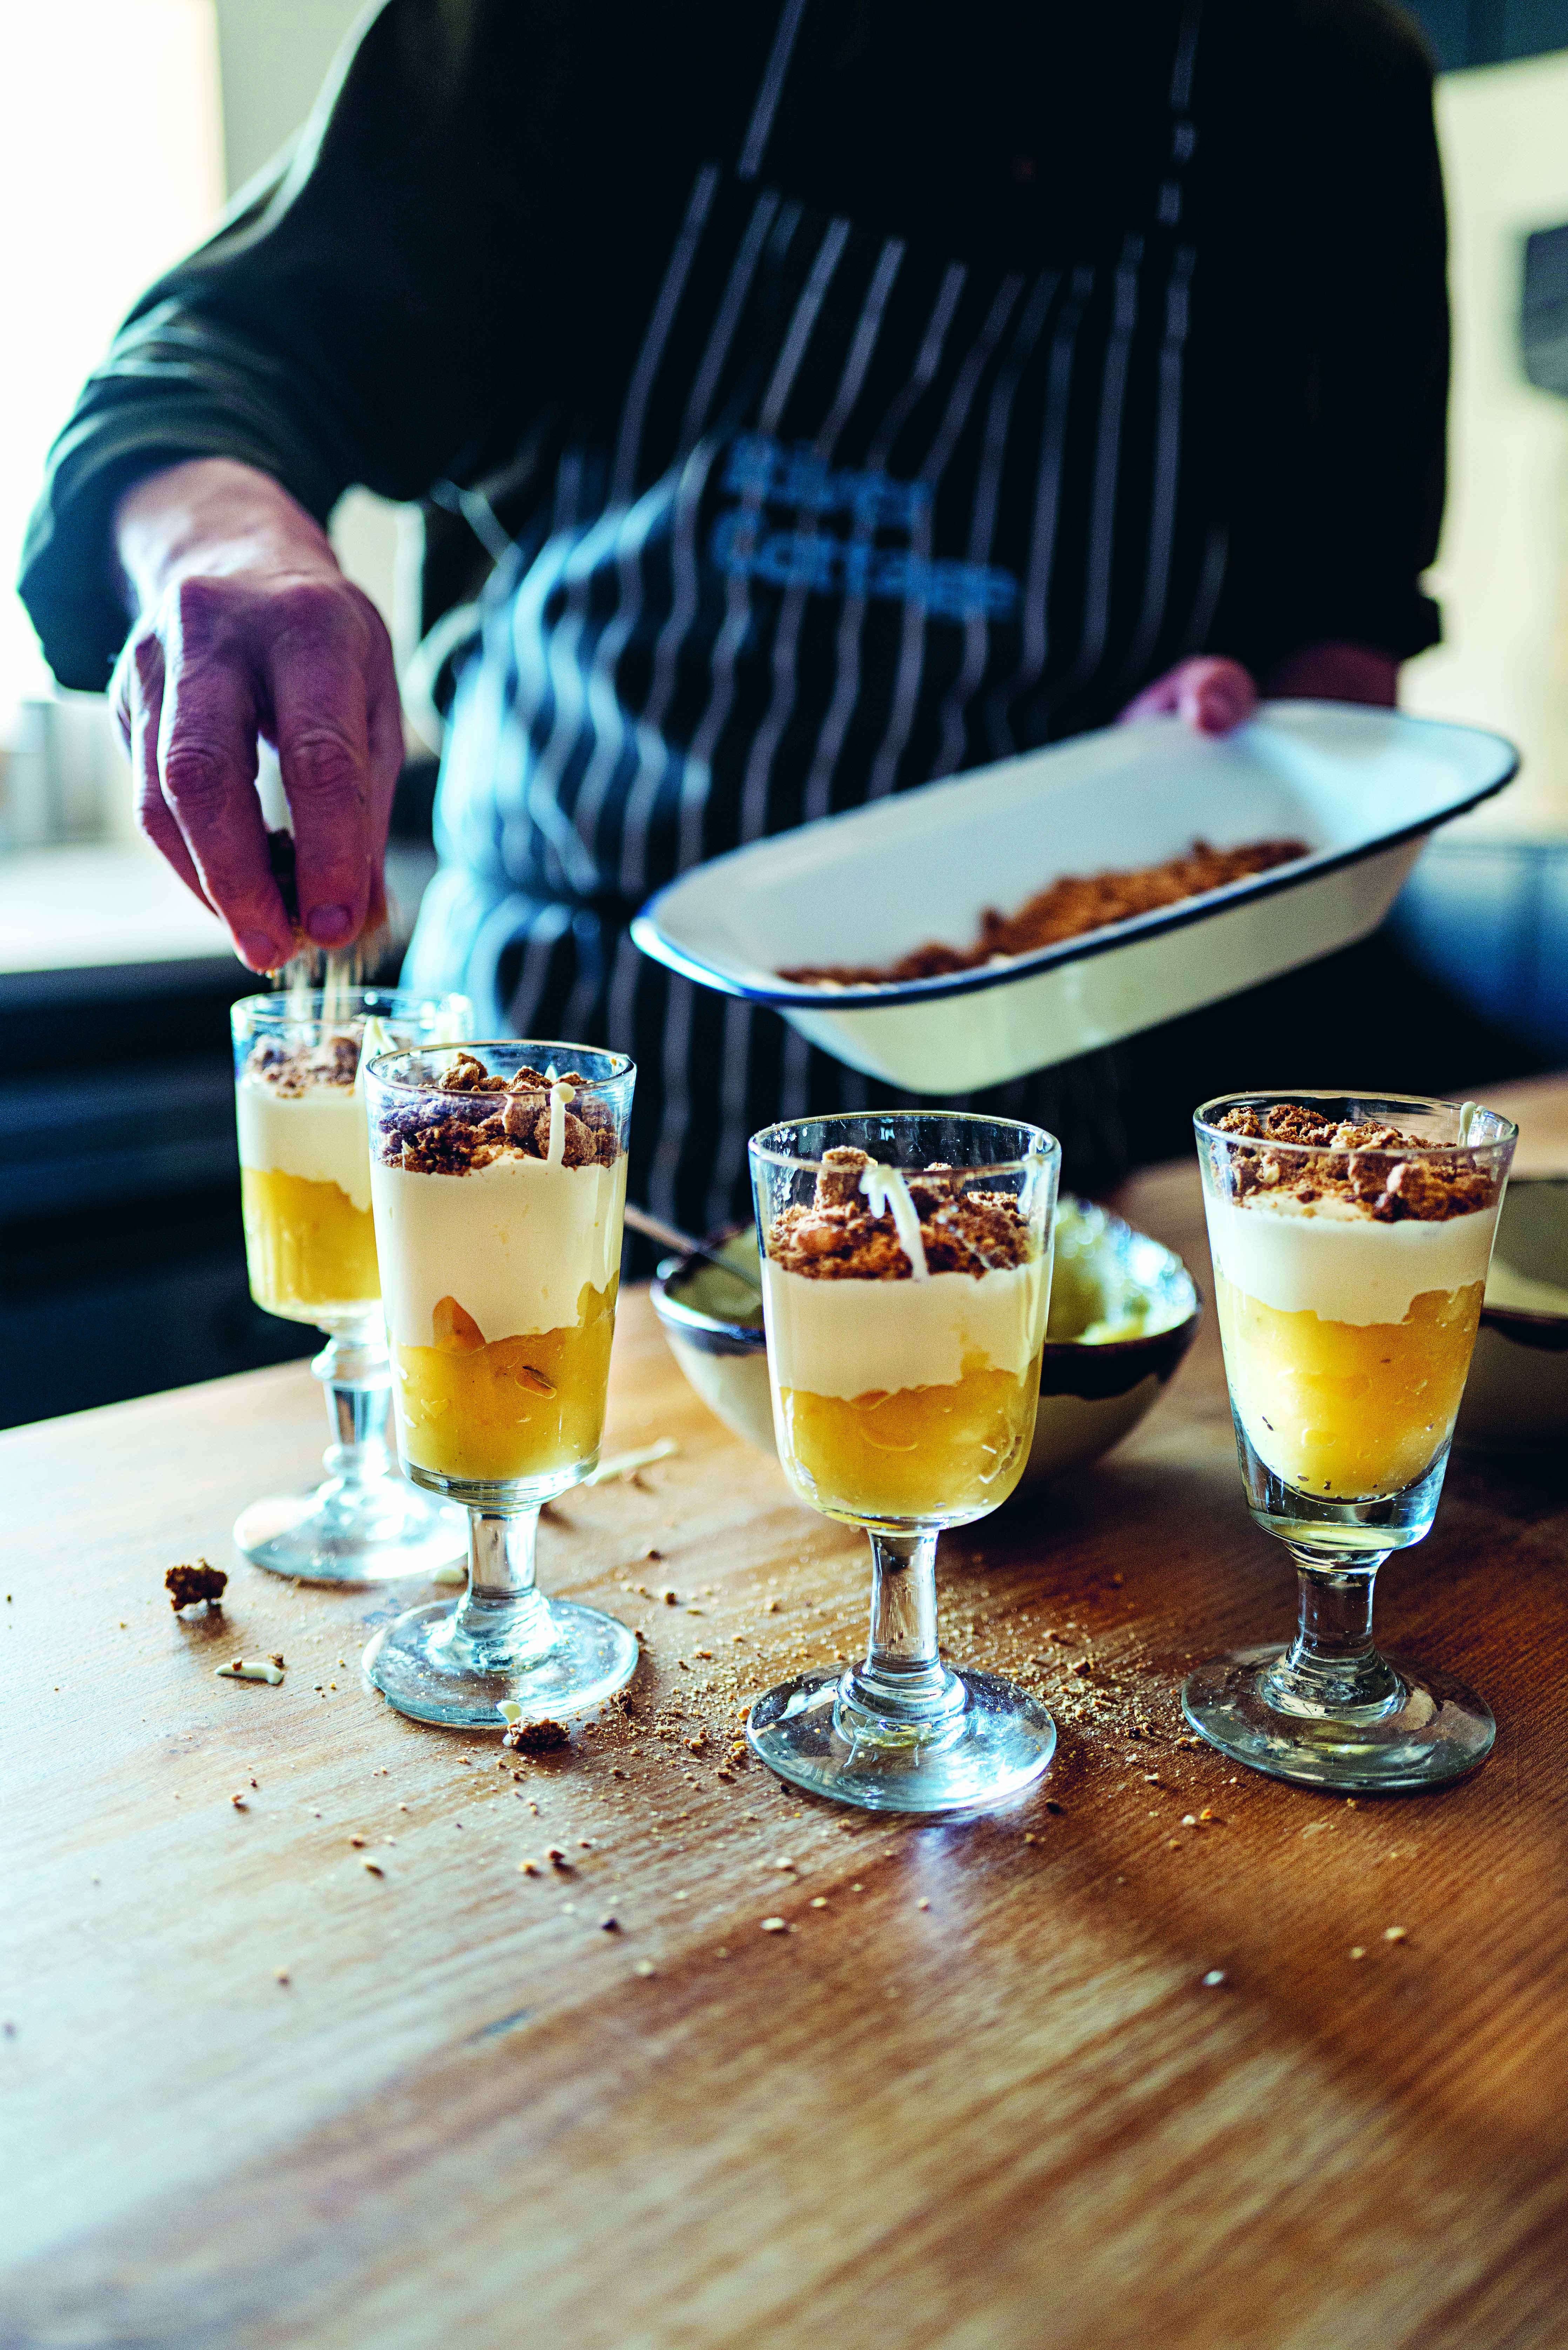
Marsala is a fortified wine from Sicily that was once popular among chefs and wine enthusiasts alike. However, excessive production cheapened its quality over time, leading to a decline in its reputation. Fortunately, a select few winemakers continue to produce marsala in its authentic form, capturing its deep and mellow character with notes of muscovado and sun-dried fruit. If you haven’t any already, now may be the time to add a bottle to your pantry. In this recipe, sweet marsala is used in a sabayon (or zabaglione in Italian). Both creamy and light, this boozy custard is traditionally served with summer fruits. But I have opted to serve it with a chocolate tart and toasted hazelnuts.
SERVES 10–12
Ingredients:
For the chocolate tart shell:
150g (5½oz) unsalted butter, softened, plus extra for greasing
90g (3¼oz) icing sugar, sifted
1 egg
½ teaspoon salt
200g (7oz) plain flour
50g (1¾oz) cocoa powder
For the chocolate filling:
530g (1lb 3oz) good-quality chocolate (70% cocoa solids), broken into pieces
3 egg yolks
200ml (7fl oz) double cream
270ml (9½fl oz) whole milk
1 teaspoon salt
For the marsala sabayon:
190ml (6½fl oz) double cream
7 egg yolks
80g (2¾oz) sugar
150ml (5oz) sweet marsala
150g (5½oz) hazelnuts, lightly toasted and coarsely chopped, to serve
For the chocolate dough, butter the bottom and sides of a 25cm (10in) fluted tart tin, and line the base with baking parchment. Place the butter and icing sugar into a mixing bowl and beat until smooth. Add the egg and salt and continue beating until the egg is absorbed.
Sift in the flour and cocoa powder and mix until everything comes together. The dough may feel dry at this stage, but the crust will have a nicer texture when the dough is cooked.
Using your hands, press the dough as evenly as possible into the prepared tart tin. Place a piece of baking parchment over the dough and use the back of a measuring cup (a small glass will also do) to gently press the dough into a smooth even layer. Press the dough up the sides of the tart tin, then trim the excess dough, reserving it for patching up any cracks that may form during baking. Place in the refrigerator until firm.
Preheat the oven to 160°C/325°F/gas mark 3.
Prick the bottom of the tart using a fork, then place it into the oven. After 7 minutes, you may notice the sides of the tart shell beginning to slouch. Gently press a flatbottomed measuring cup around the edges where the dough has shrunk and encourage it back up the side of the tart tin. Continue to bake for about 20 minutes until the tart shell is cooked all the way through. Remove from the oven and cool on a wire rack.
For the chocolate filling, prepare two large heatproof bowls – add the chocolate to one and the egg yolks to the other. Fill a saucepan with water and bring it to the boil. Remove it from the heat and place the bowl of chocolate on top, ensuring it doesn’t come into contact with the water. Allow the chocolate to melt gradually. Meanwhile, in a separate heavy-based saucepan, combine the double cream, milk and salt. Place it over medium heat. Put your bowl of egg yolks nearby, with a towel underneath to secure it.
When the milk mixture begins to simmer, take it off the heat and slowly ladle it into the yolks, stirring constantly with a whisk. Once you have incorporated all the milk into the yolks, return the mixture to the saucepan and place it over a low heat. Stir constantly until the custard thickens slightly and coats the back of a spoon.
Strain through a fine-mesh sieve into the chocolate and let it sit over the hot water for 1 minute. Remove from heat and wipe the water from underneath the bowl. Place a clean, dry spatula into the centre of the chocolate and, using small circular motions, begin to emulsify the chocolate. Once the mixture begins to look glossy, continue to bring in more chocolate and custard, all the while using small circular motions to emulsify the chocolate. Gentle stirring will prevent unwanted air bubbles. If the mixture begins to split, your chocolate may be too hot. However, a small splash of cold milk stirred into the chocolate should bring it back to its glossy texture. Scrape the sides and base of the bowl with spatula every so often. Once the chocolate is properly emulsified, pour into the prepared tart shell and shimmy the tart back and forth to evenly spread the filling. Place in a cool part of the kitchen for 2–3 hours until the filling is set.
For the marsala sabayon, take a small mixing bowl and whip the double cream until the whisk leaves tracks in the cream, stopping before soft peaks form. Chill the whipped cream in the refrigerator until needed. Prepare a large bowl with ice-cold water, filling it about one-third of the way up then set aside. Bring a pan of water to the boil and place the egg yolks into another large heatproof bowl. Sit this on top of the pan of boiling water. Whisk the yolks until they are warm to the touch, then add the sugar and whisk vigorously until the yolks turn pale and thick. Add the marsala and continue whisking until the custard is doubled in size. Notice how the sabayon changes; the bubbles will become smaller and the whisk will leave trails as the mixture thickens and becomes glossy. Remove from the heat and place over the bowl of ice-cold water. Continue whisking until completely chilled. Remove the cream from the refrigerator and whisk to soft peaks. Fold one-third of the sabayon into the cream, then fold in the rest. Store in the refrigerator for up to 4 hours until you are ready to use.
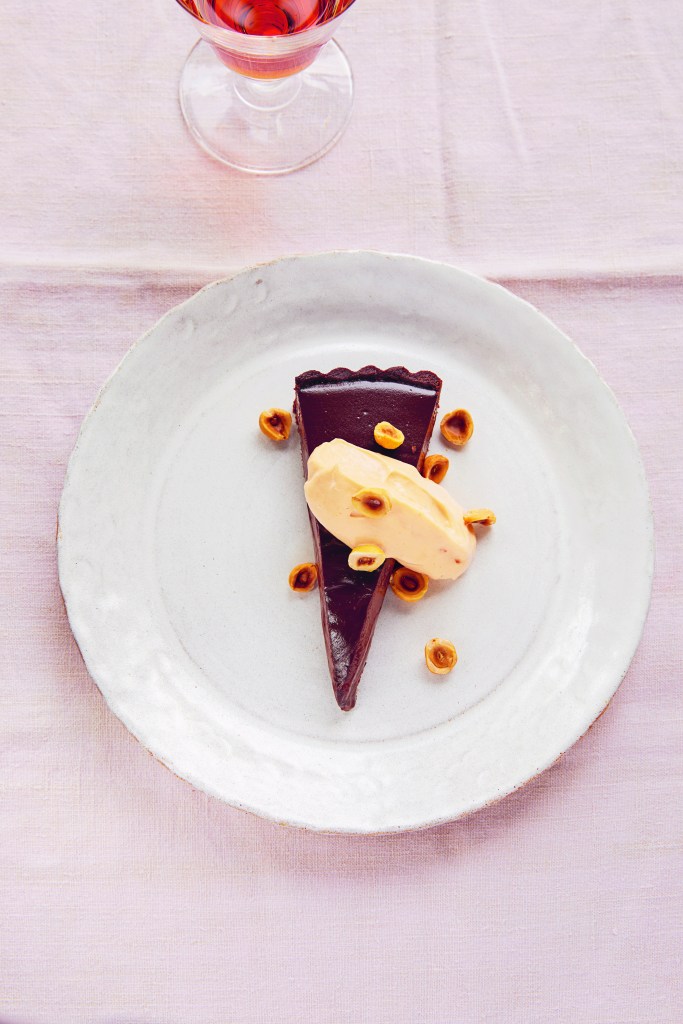
Serve slices of the tart with generous spoonfuls of chilled sabayon and a scattering of toasted hazelnuts.
Book credit: Fruitful by Sarah Johnson. Published by Kyle Books. Photography: Patricia Niven.
Cook more from this book
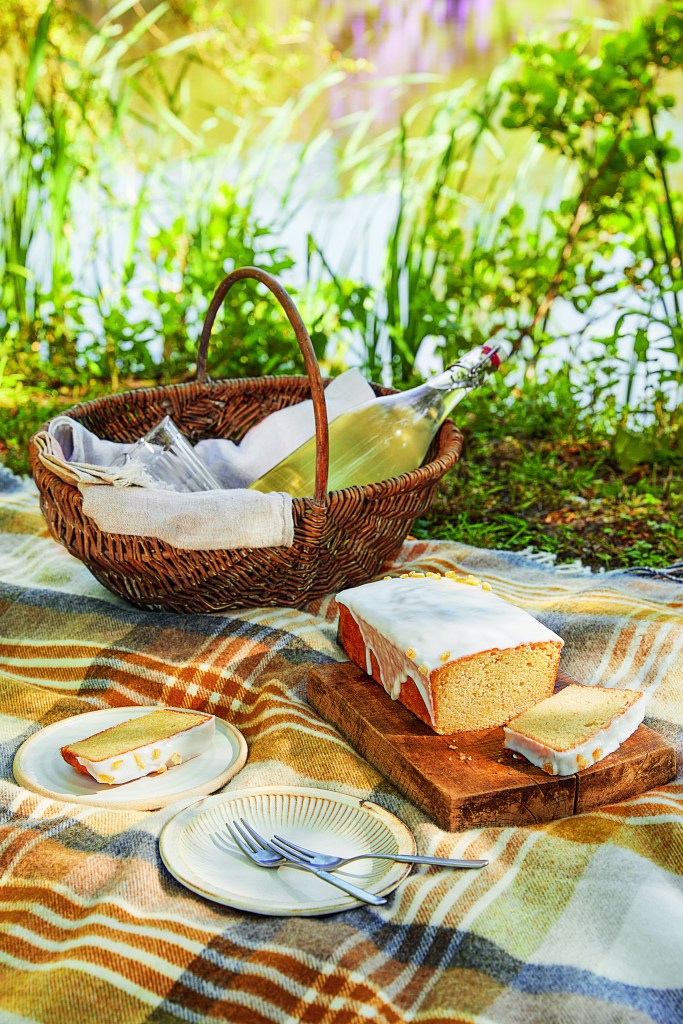
Lemon Drizzle Cake
North African Lamb with Plums
Read the review: click here
Buy this book:
Fruitful by Sarah Johnson
£30, Kyle Books