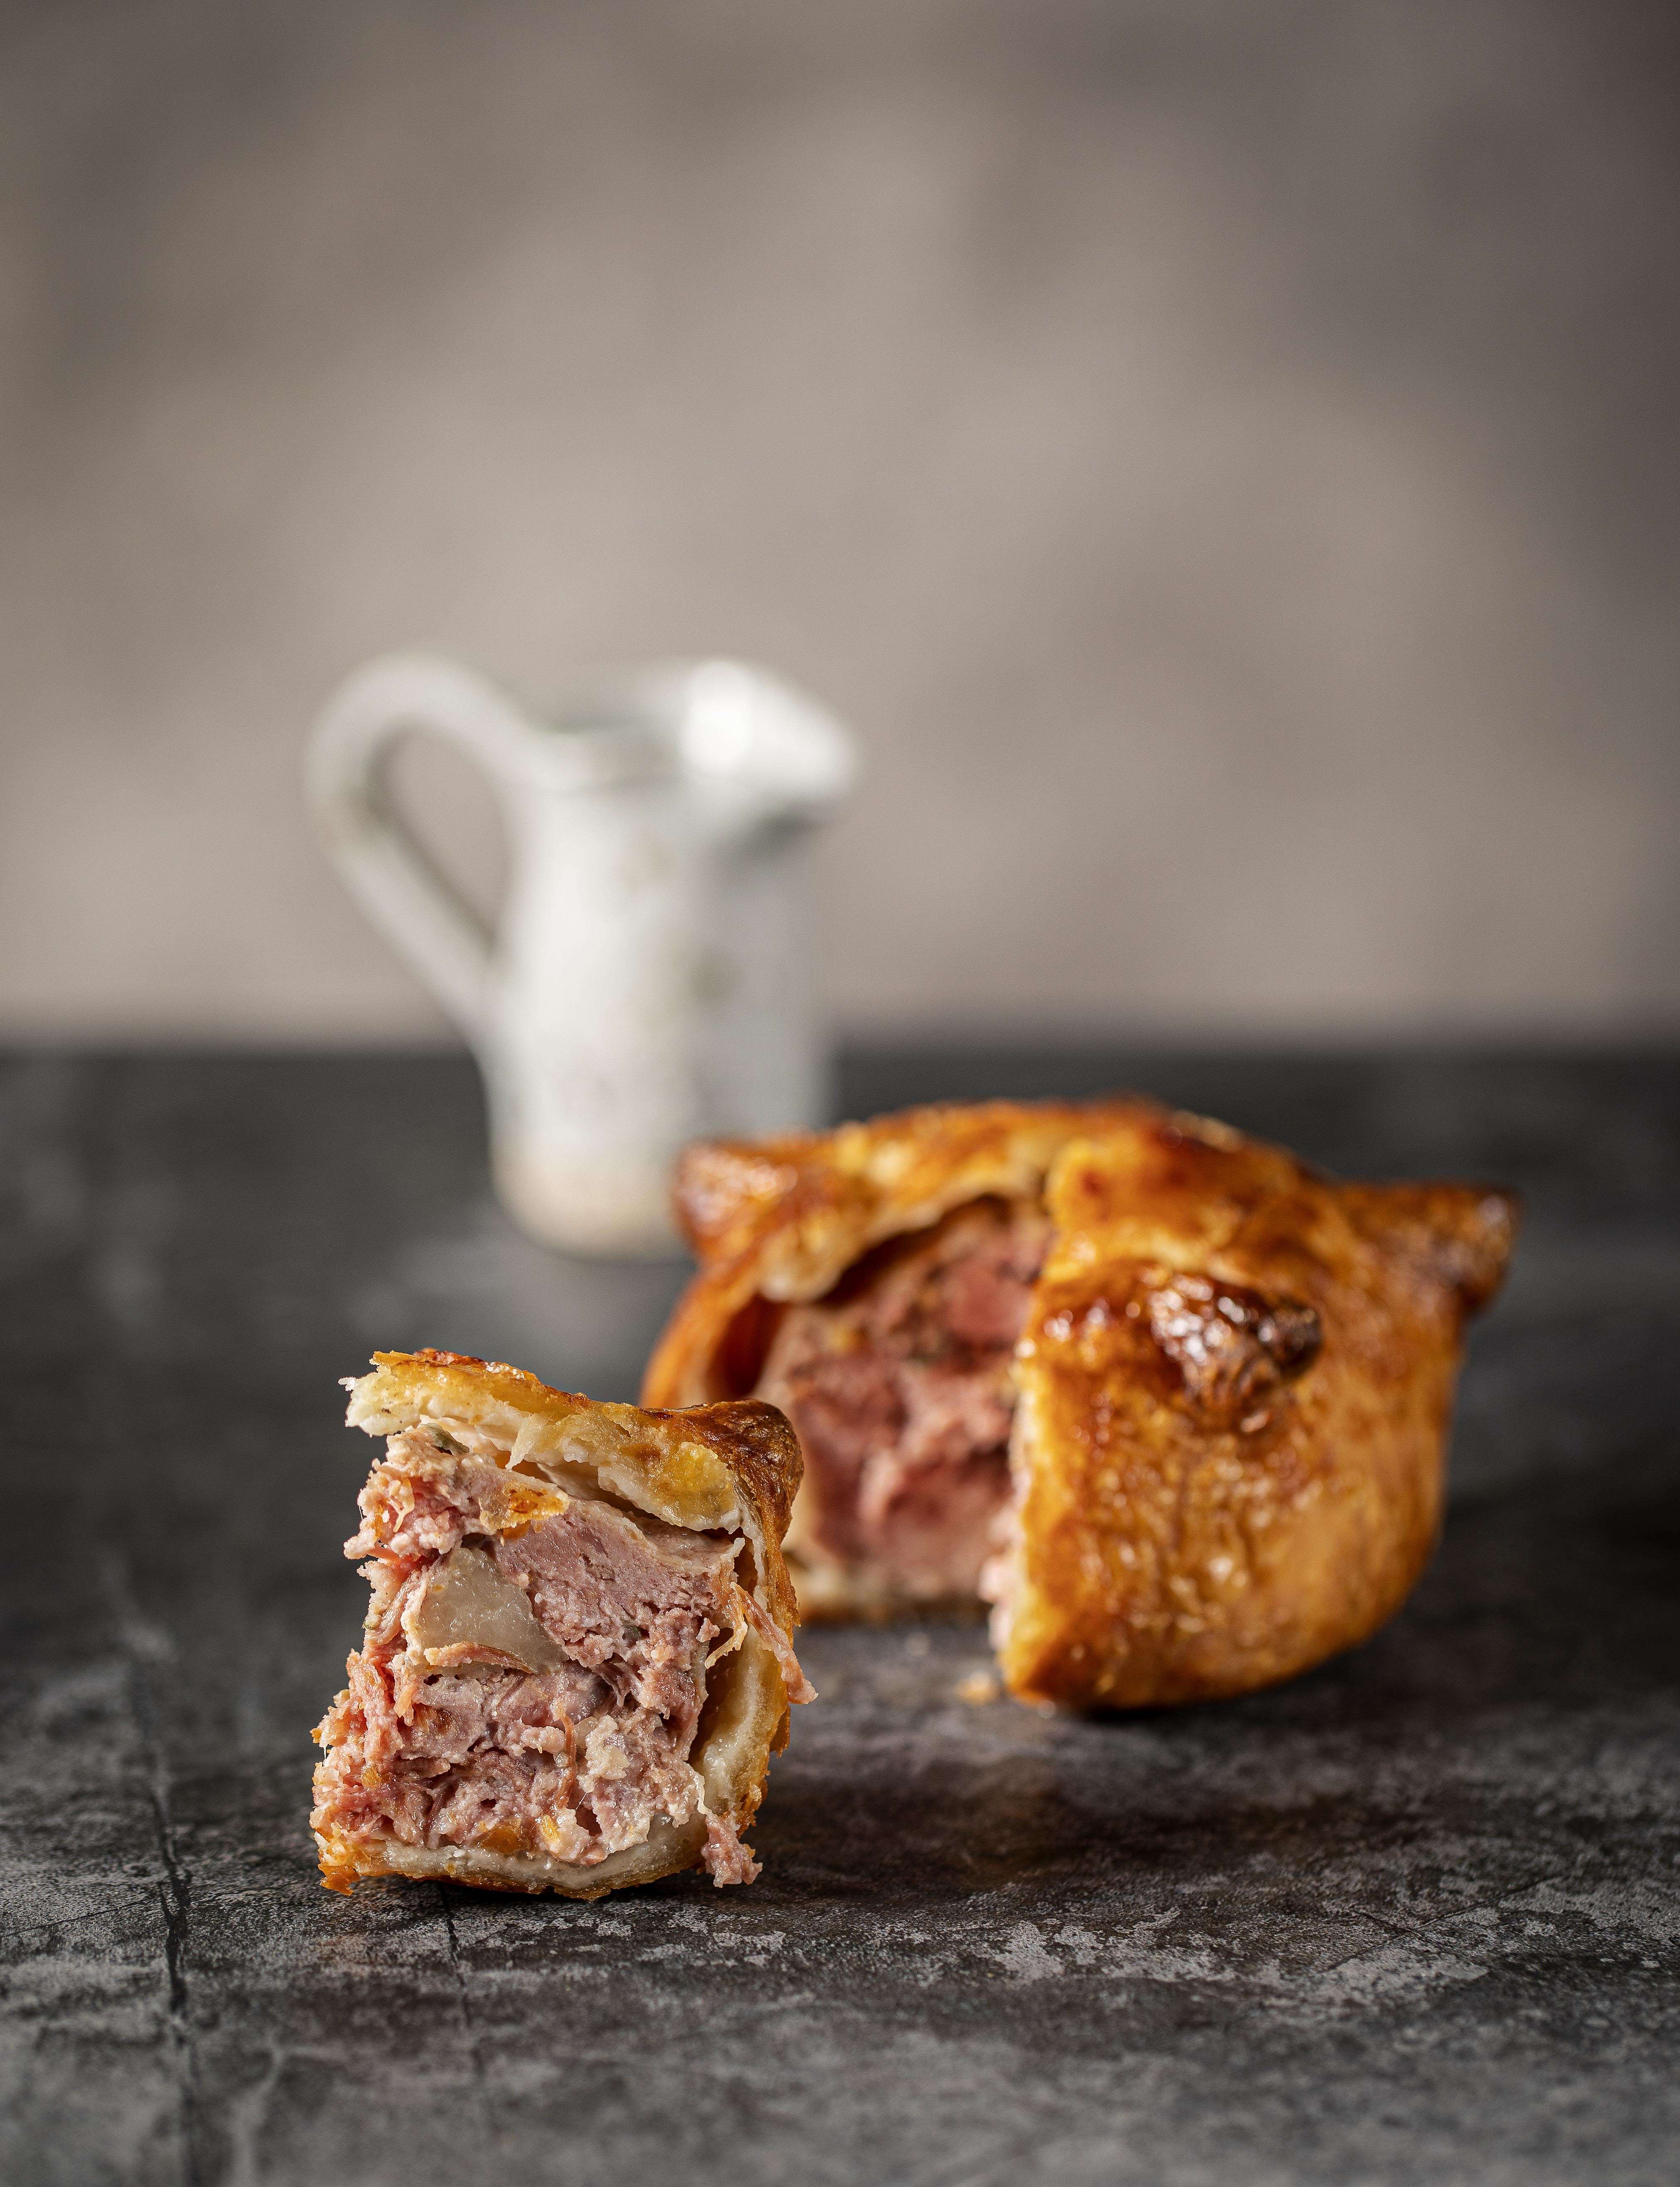
Hot Pork Pie
For centuries, pork pies have firmly held a place in British food culture as a way to use up cuts of pork less desirable than, say, fillet or loin, but truly delicious when handled with care. The most common style of pork pie found in the UK is the cold, jellied picnic pie, however my preferred way to serve a pork pie is piping hot, just out of the oven. The pastry is crispier, the fats are still unctuous, juicy and melting, and the herbs are fragrant.
The first time I ate a hot pork pie was at a pub in the West Country: I remember so clearly wondering why we had never served a hot version in the Holborn Dining Room. As soon as I went back to work, I immediately set about rectifying that. In this recipe, a traditional pork pie dolly (a smooth wooden tool) is used to shape the dough. You can find a dolly easily online, but you could also use a jam jar or a well-buttered metal ring of the same diameter. Roll the pastry into a circle, use it to line the ring, fill and press on a lid, then carefully remove the pie from the ring. Try using a dolly though – you will feel like a character from a Dickens novel (dressing up as one is not necessary, though fully applauded).
SERVES 4
800g hot water crust pastry
plain flour, for dusting
2 egg yolks beaten with 1 teaspoon water, for brushing
For the filling
500g pork shoulder, half minced and half roughly chopped
120g smoked streaky bacon, roughly chopped
100g lardo, cut into 1cm dice
1 teaspoon fennel seeds
1 teaspoon yellow mustard seeds
1½ teaspoons fine table salt
30g sage, leaves picked and finely chopped
a few good twists of freshly ground black pepper
To serve
mashed potato
Onion, Stout and Thyme Gravy (see below)
Equipment
7.5cm diameter pie dolly and digital probe thermometer
Line a baking tray with parchment paper.
Weigh out the pastry dough into four balls weighing 150g and four smaller balls weighing 40g. On a lightly floured surface, flatten the 40g dough balls and roll out to 5mm thick circles. Lay the pastry circles on the lined baking tray and chill in the refrigerator until needed.
Combine all the ingredients for the filling in a mixing bowl. Using your hands, work everything well for a few minutes until the mixture holds together. Split the mixture evenly into four balls and set aside.
Take one of the 150g dough balls and gently flatten it out into a circle until it is slightly wider than the pie dolly. Dust the pie dolly well with flour, centre it on top of the dough circle and then firmly press it down into the dough. The dough will rise up the sides of the dolly and puff out like an inflatable swimming ring. Lift the dolly out of the dough and dust it with more flour. Return the dolly to the centre of the dough and, cupping the edges of the dough in your hands, squeeze it up the dolly while at the same time turning and also pushing down on the dolly. Imagine a pottery wheel as you turn and squeeze, keeping the pastry as tight to the dolly as possible.
Periodically, pause to lift out the dolly and dust with more flour to prevent the pastry from sticking to it. Keep working the pastry dough in this way until the wall of the pastry case is about 7–8cm in height and the base is 5mm thick. Carefully remove the dolly from the pastry case and pack it with one of the balls of pork meat filling.
Repeat with the remaining 150g balls of dough until you have four pie cases filled with the pork meat filling. There should be a slight excess of pastry at the top of each case, so gently curl that outwards to form a collar.
Preheat the oven to 190°C fan/210°C/gas mark 6½.
Take the pastry lids out of the refrigerator. Wet the pie collars with a little water and lay the lids on top. To join, firmly press the collars and lids together. Crimp the edges into the middle and then transfer the pies back onto the lined baking tray.
Using a skewer or the tip of a knife, make a small hole in the top of each pie to allow the steam to escape. Avoiding the base, brush the wall and lid of each pie with the egg wash and return the pies to the lined baking tray.
Place the tray in the preheated oven and bake the pies for 35 minutes or until the core temperature reads 70°C on a digital probe thermometer. If you don’t have a probe thermometer, insert a metal skewer into the centre of a pie and leave it there for 10 seconds – when it comes out, the skewer should be piping hot. Remove the pies from the oven and leave to rest for 10 minutes before serving with mash and gravy.
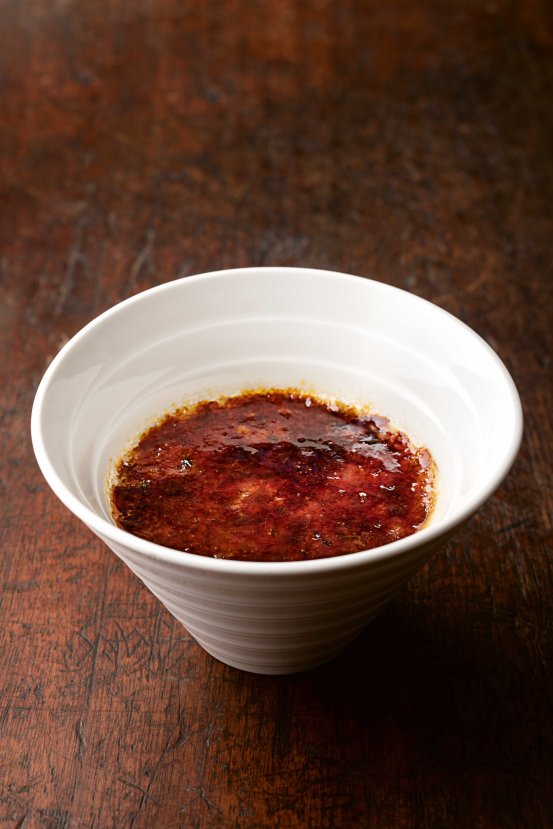
Onion, Thyme & Stout Gravy
Serves 8
1 litre beef stock
440ml stout
40g butter
2 teaspoons vegetable oil
4 Spanish onions, peeled and sliced
½ teaspoon table salt
15g plain flour
4 thyme sprigs, leaves picked
Place a pan over a high heat, pour in the beef stock and stout and leave to reduce by two-thirds. Meanwhile, melt the butter and oil in another pan and add the onions and salt. Gently cook the onions for 15 minutes, stirring frequently, until they start to brown. Do not rush cooking the onions; any water in the onions needs to evaporate fully in order for the natural sugars to caramelise. Add the flour and thyme to the pan with the onions and, stirring continuously, cook for a further 2 minutes.
Once reduced, gradually add half the stock to the pan with the onions. Stirring continuously, bring the stock with the onions back up to heat and allow it to thicken. Add the remaining stock to the pan and cook further until the gravy is thick enough to coat the back of a spoon. If the gravy is too thick, add a splash of water. If the gravy is too thin, continue to reduce it for a little longer.
Hot Water Crust Pastry
Traditionally used to encase cold pork pies, hot water crust pastry is one of the oldest British pie dough recipes. With early origins showing ingredients as just flour and hot water, it was likely in the Medieval times that it developed into what we now more closely know: flour, hot water and lard. It would have been used to make huge pies for banquets, encasing goose, venison and whole swans. Over time this pastry technique has changed little; it is still worked with while hot as it firms up as it cools. In The Pie Room, however, we have worked hard at adapting the traditional recipe to form a slightly lighter, crispier crust, that is fresh with the flavour of herbs and that can be worked with at a cooler room temperature and even used again after refrigeration.
Makes 1kg
200ml water
160g lard
2 rosemary sprigs
10g salt
500g plain flour
2 eggs, beaten
Combine the water, lard, rosemary and salt in a medium saucepan. Bring to the boil, then reduce to a simmer and wait for the lard to melt fully, then turn off the heat and allow to infuse.
Sift the flour into a bowl. Using either a round-bladed knife or the paddle attachment of a mixer, start to work on a medium speed. Add the egg and mix until thoroughly dispersed through the flour – this will take 2–3 minutes.
Remove the rosemary from the pan with a fork and then bring the water and fat mix to a boil. Slowly pour onto the flour and egg mix, scraping the bowl and paddle halfway through to prevent any lumps from forming. Mix for 2–3 minutes until well combined.
Allow the dough to cool on a tray between parchment paper until the heat has dissipated and then chill for 10 minutes in the refrigerator before using.
This hot water crust pastry dough can be kept for up to three days in the refrigerator or one month in the freezer. If freezing, weigh out the dough into the quantities needed for individual recipes – it will take less time to thaw and you won’t be potentially wasting any dough. To use the dough from the freezer, allow it to come back to refrigerator temperature overnight.
Cook more from this book
The ultimate sausage roll
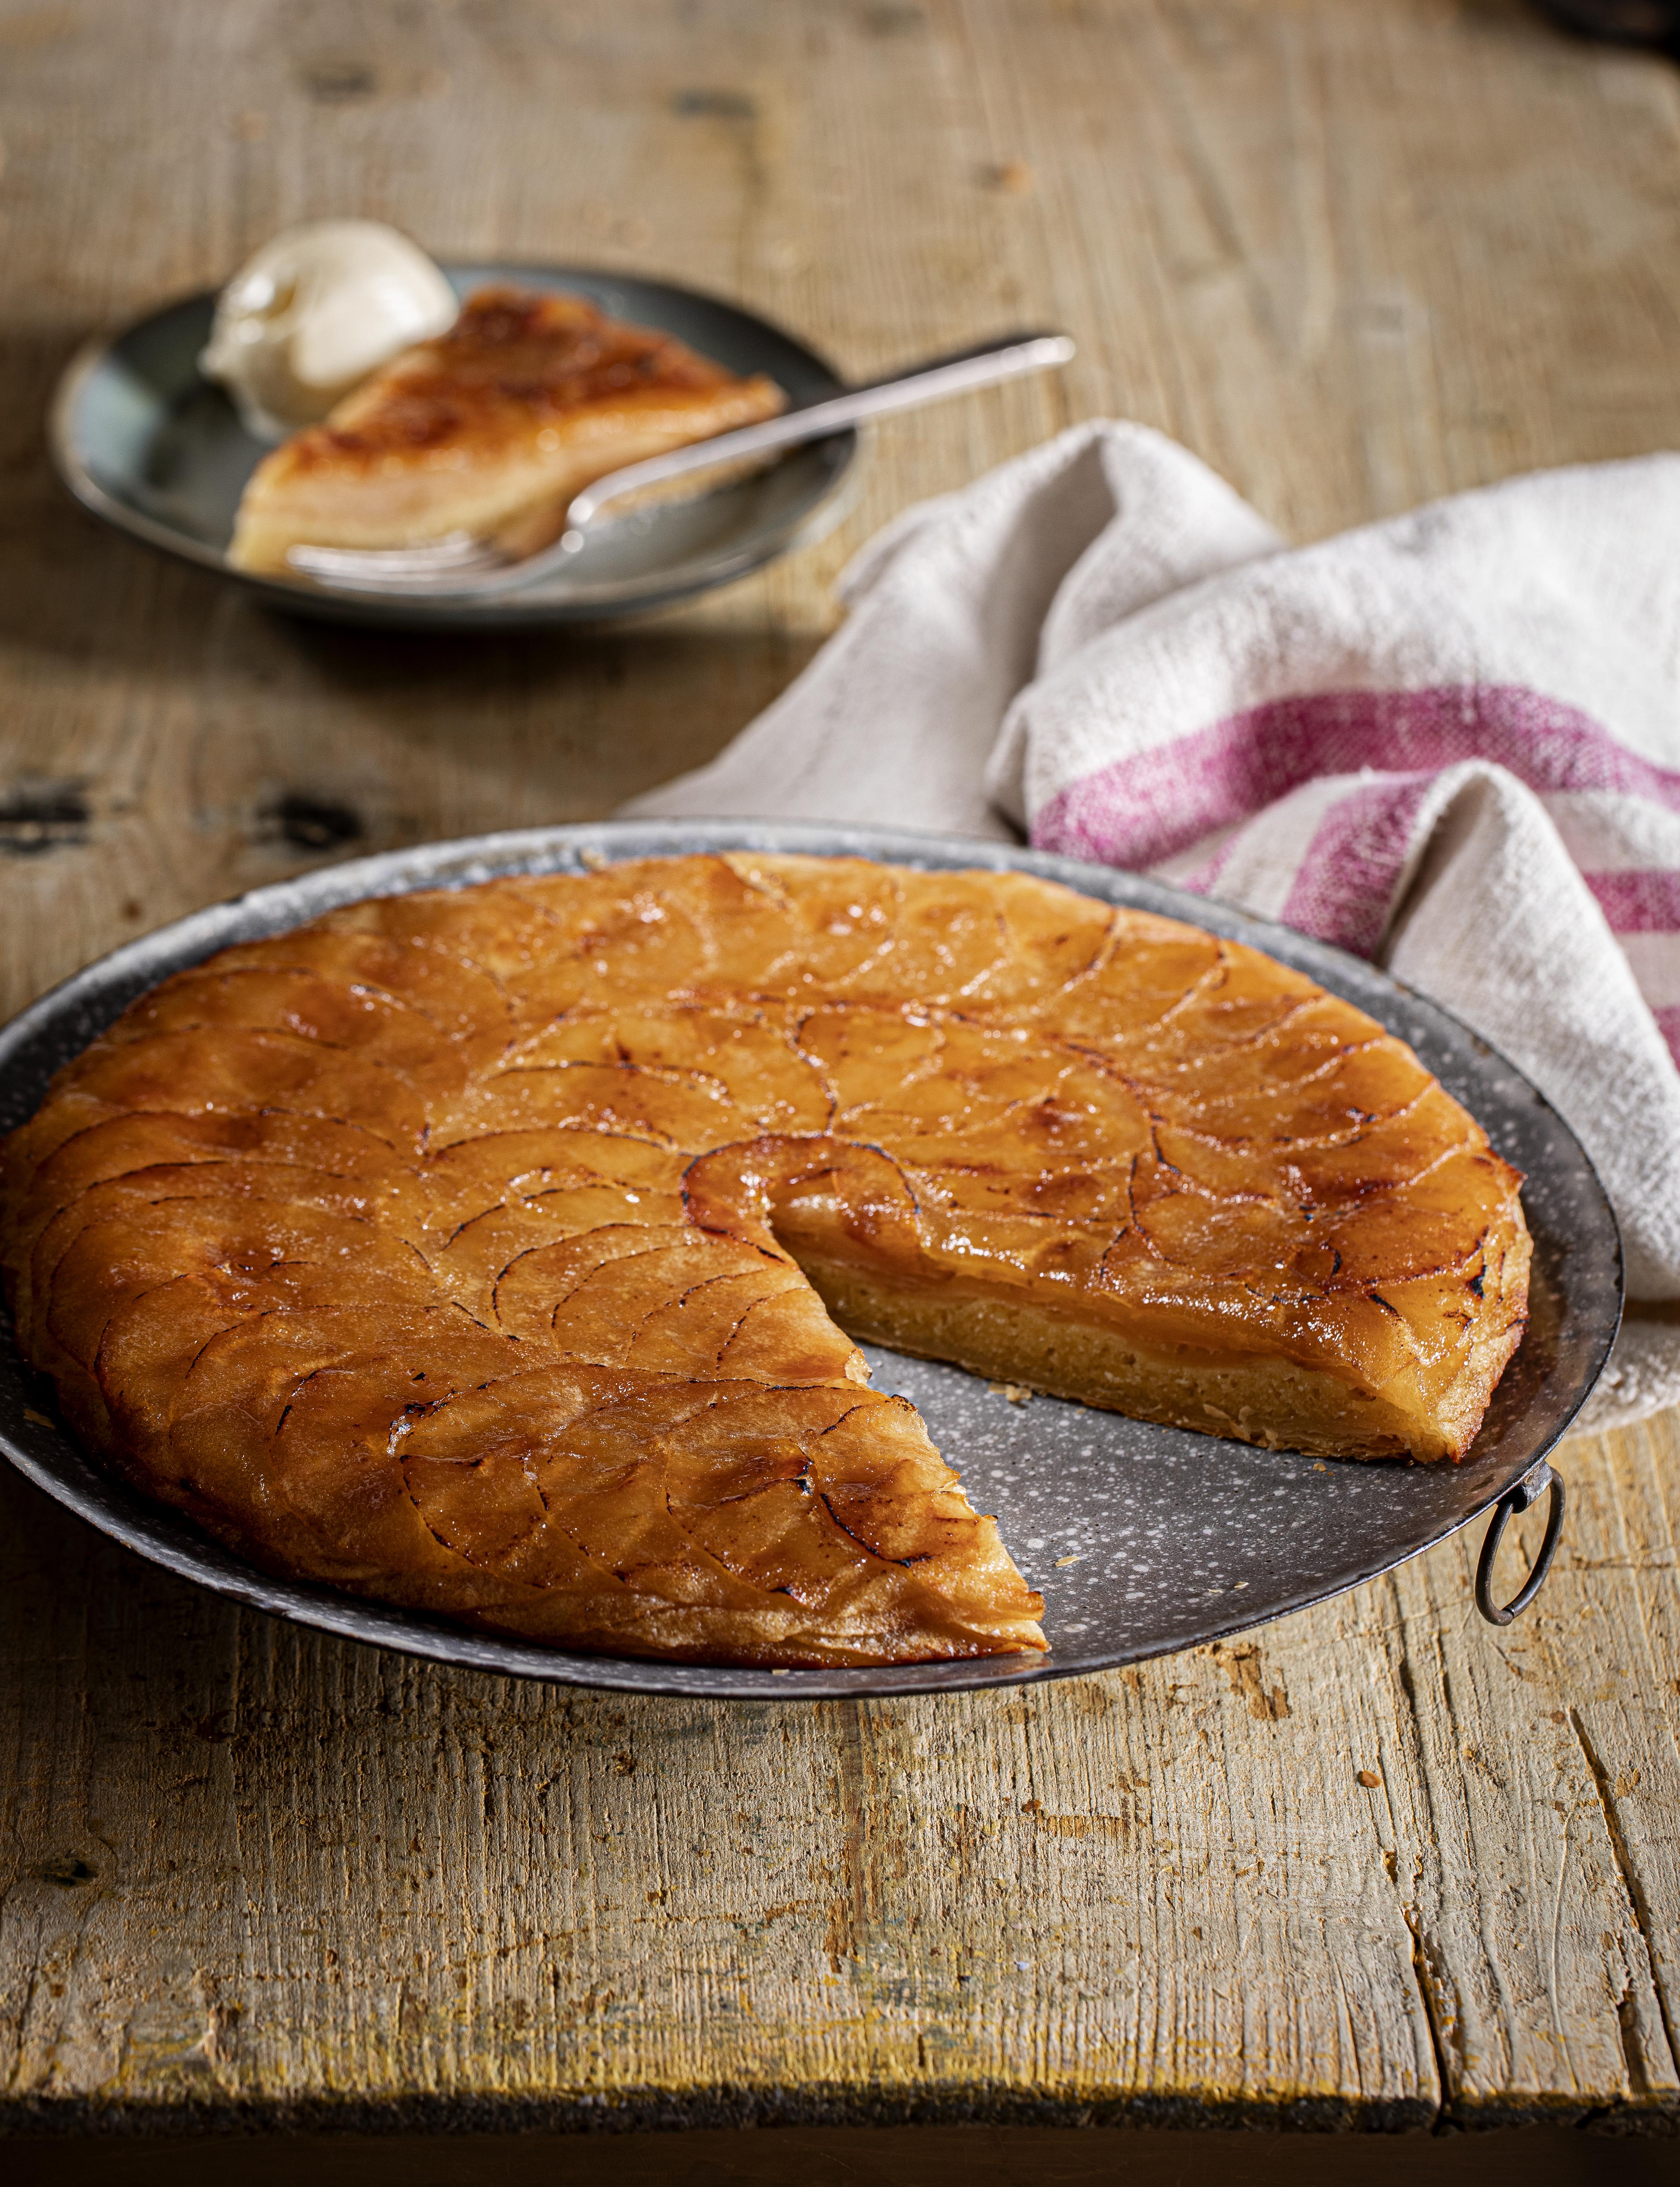
Glazed Apple Tart
Classic puff pastry
Read the review
Buy the book
The Pie Room: 80 achievable and show-stopping pies and sides for pie lovers everywhere
£26, Bloomsbury Absolute

")
")